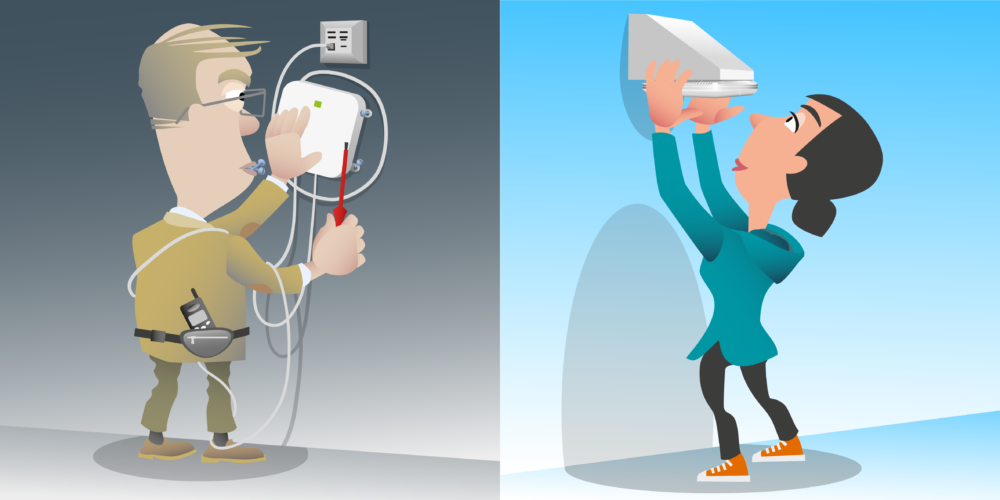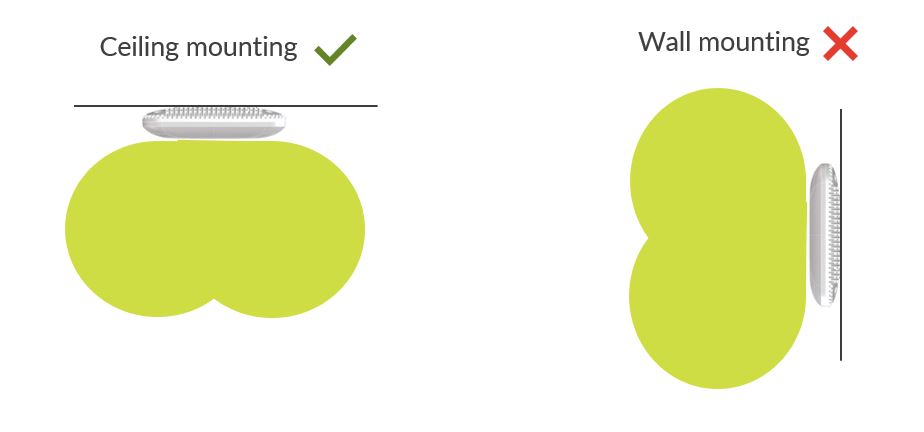
Hello. In this video, we are going to look at the insulation and mounting of access points and antennas. And let’s start by looking at a Mist access point which has integrated antennas. Mist access points with integrated antennas have built-in down-tilt omni-antennas, which are designed to be ceiling-mounted, pointing straight down. This way, the omni-antenna is going to radiate signals into the room. Now, these APs work best when mounted no higher than 15 to 18 feet. That’s about five to six meters. When mounting above 18 feet, it’s worth considering if external antennas would be better.
So, the correct way to mount a Mist access point is on the ceiling pointing down. Not above the ceiling, and not vertically on a wall. When Mist access points are vertically mounted on a wall, what you’ve effectively done is flip that omni-donut by 90 degrees, and now most of the signal is going up to the floor above, or down to the floor below. You also don’t get very much coverage behind the access point, so if there’s any rooms behind the access point where you are also hoping for coverage, you’re probably going to find that the coverage isn’t very good.
Now, these scenarios where walls are the only possible mounting location, this could be in locations such as atriums, where the ceiling is four or five floors above, and so, the only way of mounting an access point close to where the users are would be to use the walls. And in these scenarios, using a right-angled bracket so that you can still mount the AP pointing down is quite a good idea. Let me show you one here as an example. This one here is a right-angle bracket, and you can see it can be mounted on the wall, and the access point is still pointing straight down.
Now, it’s becoming increasingly common that new office environments go for a open ceiling as opposed to drop ceilings, as shown here. Now, these environments provide a number of challenges for ceiling mounting access points. Not only is the ceiling really high, but there’s also many metal obstacles in the way, such as air conditioning ducks that will attenuate a signal and reflect signals. In these environments, what we need to do is drop the access points down, just as the lighting has been dropped down in this picture. Now, a normal rule of thumb would be to drop the access points down to the same level as the lights. Access points could be dropped down on some sort of drop mount, such as this conduit drop-mount shown here. These mounts generally have a piece of conduit which comes out of some sort of mounting box. You can see on my example here, we’ve got a hole for the metal conduit where the ethernet would also come down, and then we can mount our access point onto the box.
And it means we can mount our access points much lower down, closer to our users, and out the way of any obstructions. Sometimes it’s also important that we know the orientation of our Mist access points. This is important when designing for BLE location-based services. When we configure location-based services in the Mist cloud, we have to ensure that we don’t only know the physical location of the access point but also its orientation. By knowing both, we can ensure accurate location calculations. So it’s worth sometimes specifying in the design what orientation we want the access point mounting in. Now, when using Mist access points with external antennas, the position and orientation of the antenna becomes the important thing.
Providing detailed mounting instructions should be part of the design documentation. You see, just providing location and mounting kits will likely lead to some problems. If we consider this mounting kit here, we can notice that it’s got an option for degrees of down-tilt on the antenna, and unless we specify how much down-tilt we want in our antenna in our documentation, the installers are unlikely to magically pick the right amount. And trying to correct things like down-tilt post-installation can often be very expensive, especially if the only way to get to the antenna locations is with access platforms such as cherry pickers that we might have to hire in. The orientation of the antenna is also very important. Let’s consider, for example, our high rack warehouse antenna, which has a 120-degree beam width in one particular direction to beam up and down an aisle, and 15 degrees in the other to keep the signal within the aisle.
So, if we got this antenna in the wrong orientation, that’s going to cause massive problems with our design. So if we consider, for example, this Ventev warehouse antenna that I have here, you’ll notice that this antenna is rectangular. So it might be that our instructions could literally just say something like, “Make sure that the long edge is parallel with the racking.” However, for some other antennas, let’s consider maybe a square antenna such as this antenna here from a CellTex. Their warehouse antenna is not quite so obvious, which way is 120 degrees and which is a 15? So we’re going to need to provide some more detailed documentation. We might, for example, want to make sure that the antenna is labeled with an arrow and there’s detailed documentation as to which way that arrow needs to point. Well, I hope that this video has highlighted some of the considerations for mounting access points and antennas.
Thank you for watching and goodbye.
Access Point and Antenna placement tips:
1. Always locate access points as close to the users as possible.
2. Mist access point with integrated antennas should be ceiling mounted pointing down (not above the ceiling or mounted vertically on a wall)

3. Mist access points with integrated antennas should be mounted no higher than 15' - 18'. When mounting above 18' consider using directional antennas
4. Design documentation should clearly detail the following for each antenna: location, orientation, mounting & down tilt if required
Next Videos


